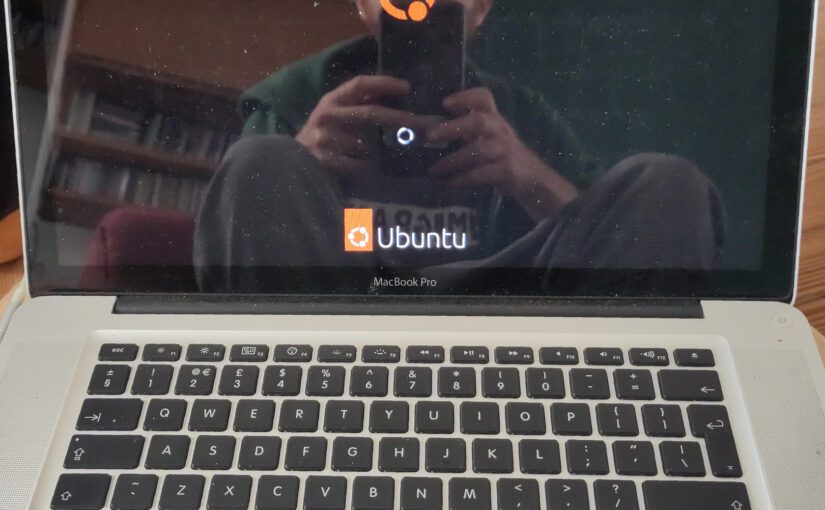
I’ve started putting Ubuntu on 64 bit Intel MacBooks, some of which are 15 years old. It’s gone surprisingly well. Computers that were zippy when they were new return to being a delight. Alas, under-specced macs remain under-specced. However, all macs have excellent cameras and Audio I/O, so even a sluggish mac can be very useful for applications like Zoom or even webcasting. Putting linux on it gives it the security updates you need to confidently go online.
To follow this guide you will need a USB stick (or, possibly two that you can plug in at the same – this can be via a hub), and an ethernet connection to the internet. If you don’t have ethernet access, it’s still possible to get everything working, but you may have to refer to another tutorial for how to install drivers for your wifi.
First, you’ll need to download the latest Ubuntu LTS and use it to make a bootable USB stick. (How to do that is beyond the scope of this tutorial, because you might be on any OS for this step, but you can find a lot of guides.)
Turn the target Mac off, put the USB drive in a USB slot, and turn if back on while holding down the option key. You should get to a menu that includes your USB stick as one of the options.
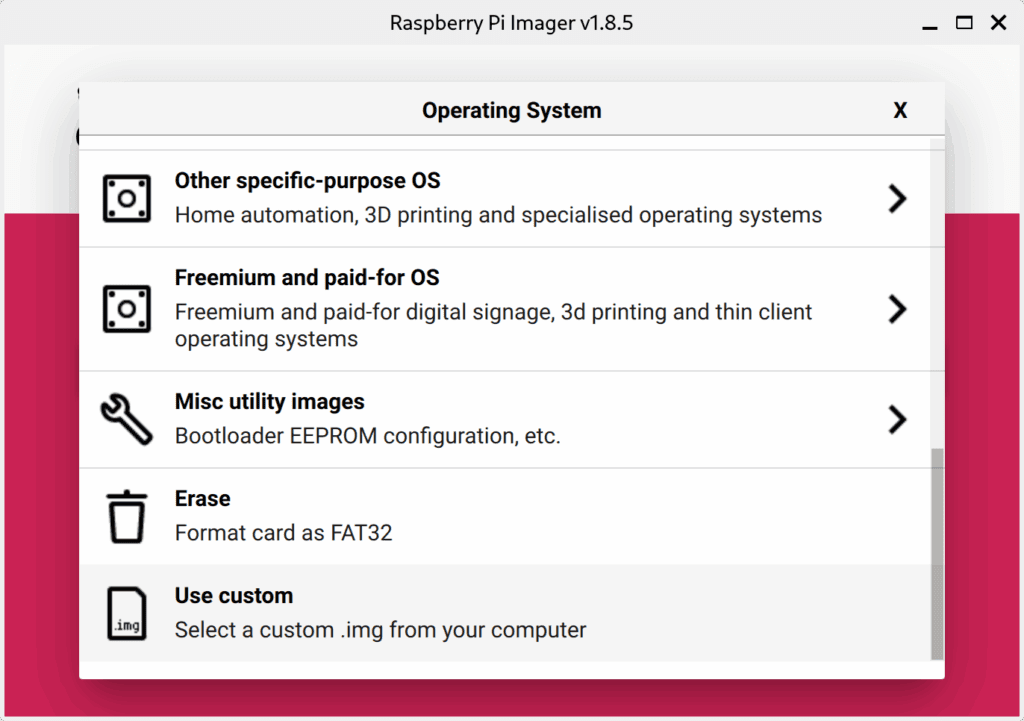
If you do not see your USB stick, never fear. You will need a second USB stick! Download rEFIt. This will be an IMG disk image. If the bootable disk maker you used previously doesn’t work with IMGs, Raspberry Pi Imager will. In the middle dropdown menu, select “Use custom”, find the img in your download folder, and select your USB stick in the Storage menu.

Plug in both USB sticks (you may need a hub), press option while the computer is booting, pick your rEFIt stick in the first menu, and then that stick’s program will present you with a second menu, which should allow you to boot the Ubuntu image.
You’ll eventually get to a screen that asks you for your language, then asks you if you need accessibility help and then asks you what keyboard you’re using. Be sure to find your keyboard’s country AND specify that it’s a mac keyboard.
You will get to a screen about getting on the internet. Don’t worry if your wifi isn’t working yet, just plug in the ethernet cable.
You want to do an interactive installation. You want to install optional extras. You want to install proprietary software and drivers and you probably want to reformat the computer’s disk drive. I always accept the default suggestion for how to set up the reformatted drive.
After you finish installing, you will be prompted to reboot and remove your USB sticks. You can also unplug the ethernet cable.
Most people will find that their wifi now works. They need only run a system update and they’re good to go. Congratulations! If you do audio, video, graphics or other production stuff, you might want to check out the Ubuntu studio installer to get some nice bundles of software for that.
Some users will find that their wifi does not work and will need to do a few extra steps. Those users should plug the ethernet cable back in.
If your wifi worked when it was still running macOS, it can run with Ubuntu. Your mac probably has a broadcom chip and these can sometimes take a few extra steps to sort out. You’ll need to use the terminal.
Start following the first answer to this question: https://askubuntu.com/questions/55868/installing-broadcom-wireless-drivers BUT
If you get to a step sudo apt install firmware-b43-installer , and you are installing 20.04 (the most recent LTS as of writing), you will get some errors. If you do get errors, never fear. According to this helpful answer, just type:
sudo sed -i 's,https://www.lwfinger.com/b43-firmware/${DOWNLOAD},https://github.com/minios-linux/b43-firmware/releases/download/b43-firmware/${DOWNLOAD},' /var/lib/dpkg/info/firmware-b43-installer.postinstThen run sudo apt update && sudo apt upgrade
Returning to the main tutorial you’re following, for most users, the next step will be to run sudo apt install linux-firmware , however, some users will find a message saying this is already installed. In that case, run sudo apt reinstall linux-firmware
After you finish installing and are ready to reboot, you can again try unplugging the ethernet cable. This should solve your problems. If not, there is a Q&A section below the first answer of https://askubuntu.com/questions/55868/installing-broadcom-wireless-drivers , which can help you figure out what the issue is.
