Angie’s Persimmon Cookies (again)

Eleven years ago, I posted a treasured persimmon cookie recipe to this blog. But I held something back from you, dear readers. My mother made those cookies many times, but I’m not sure I ever did. Also, the metric conversions were from an online calculator, so potentially dodgy.

Biscuits / Cookies

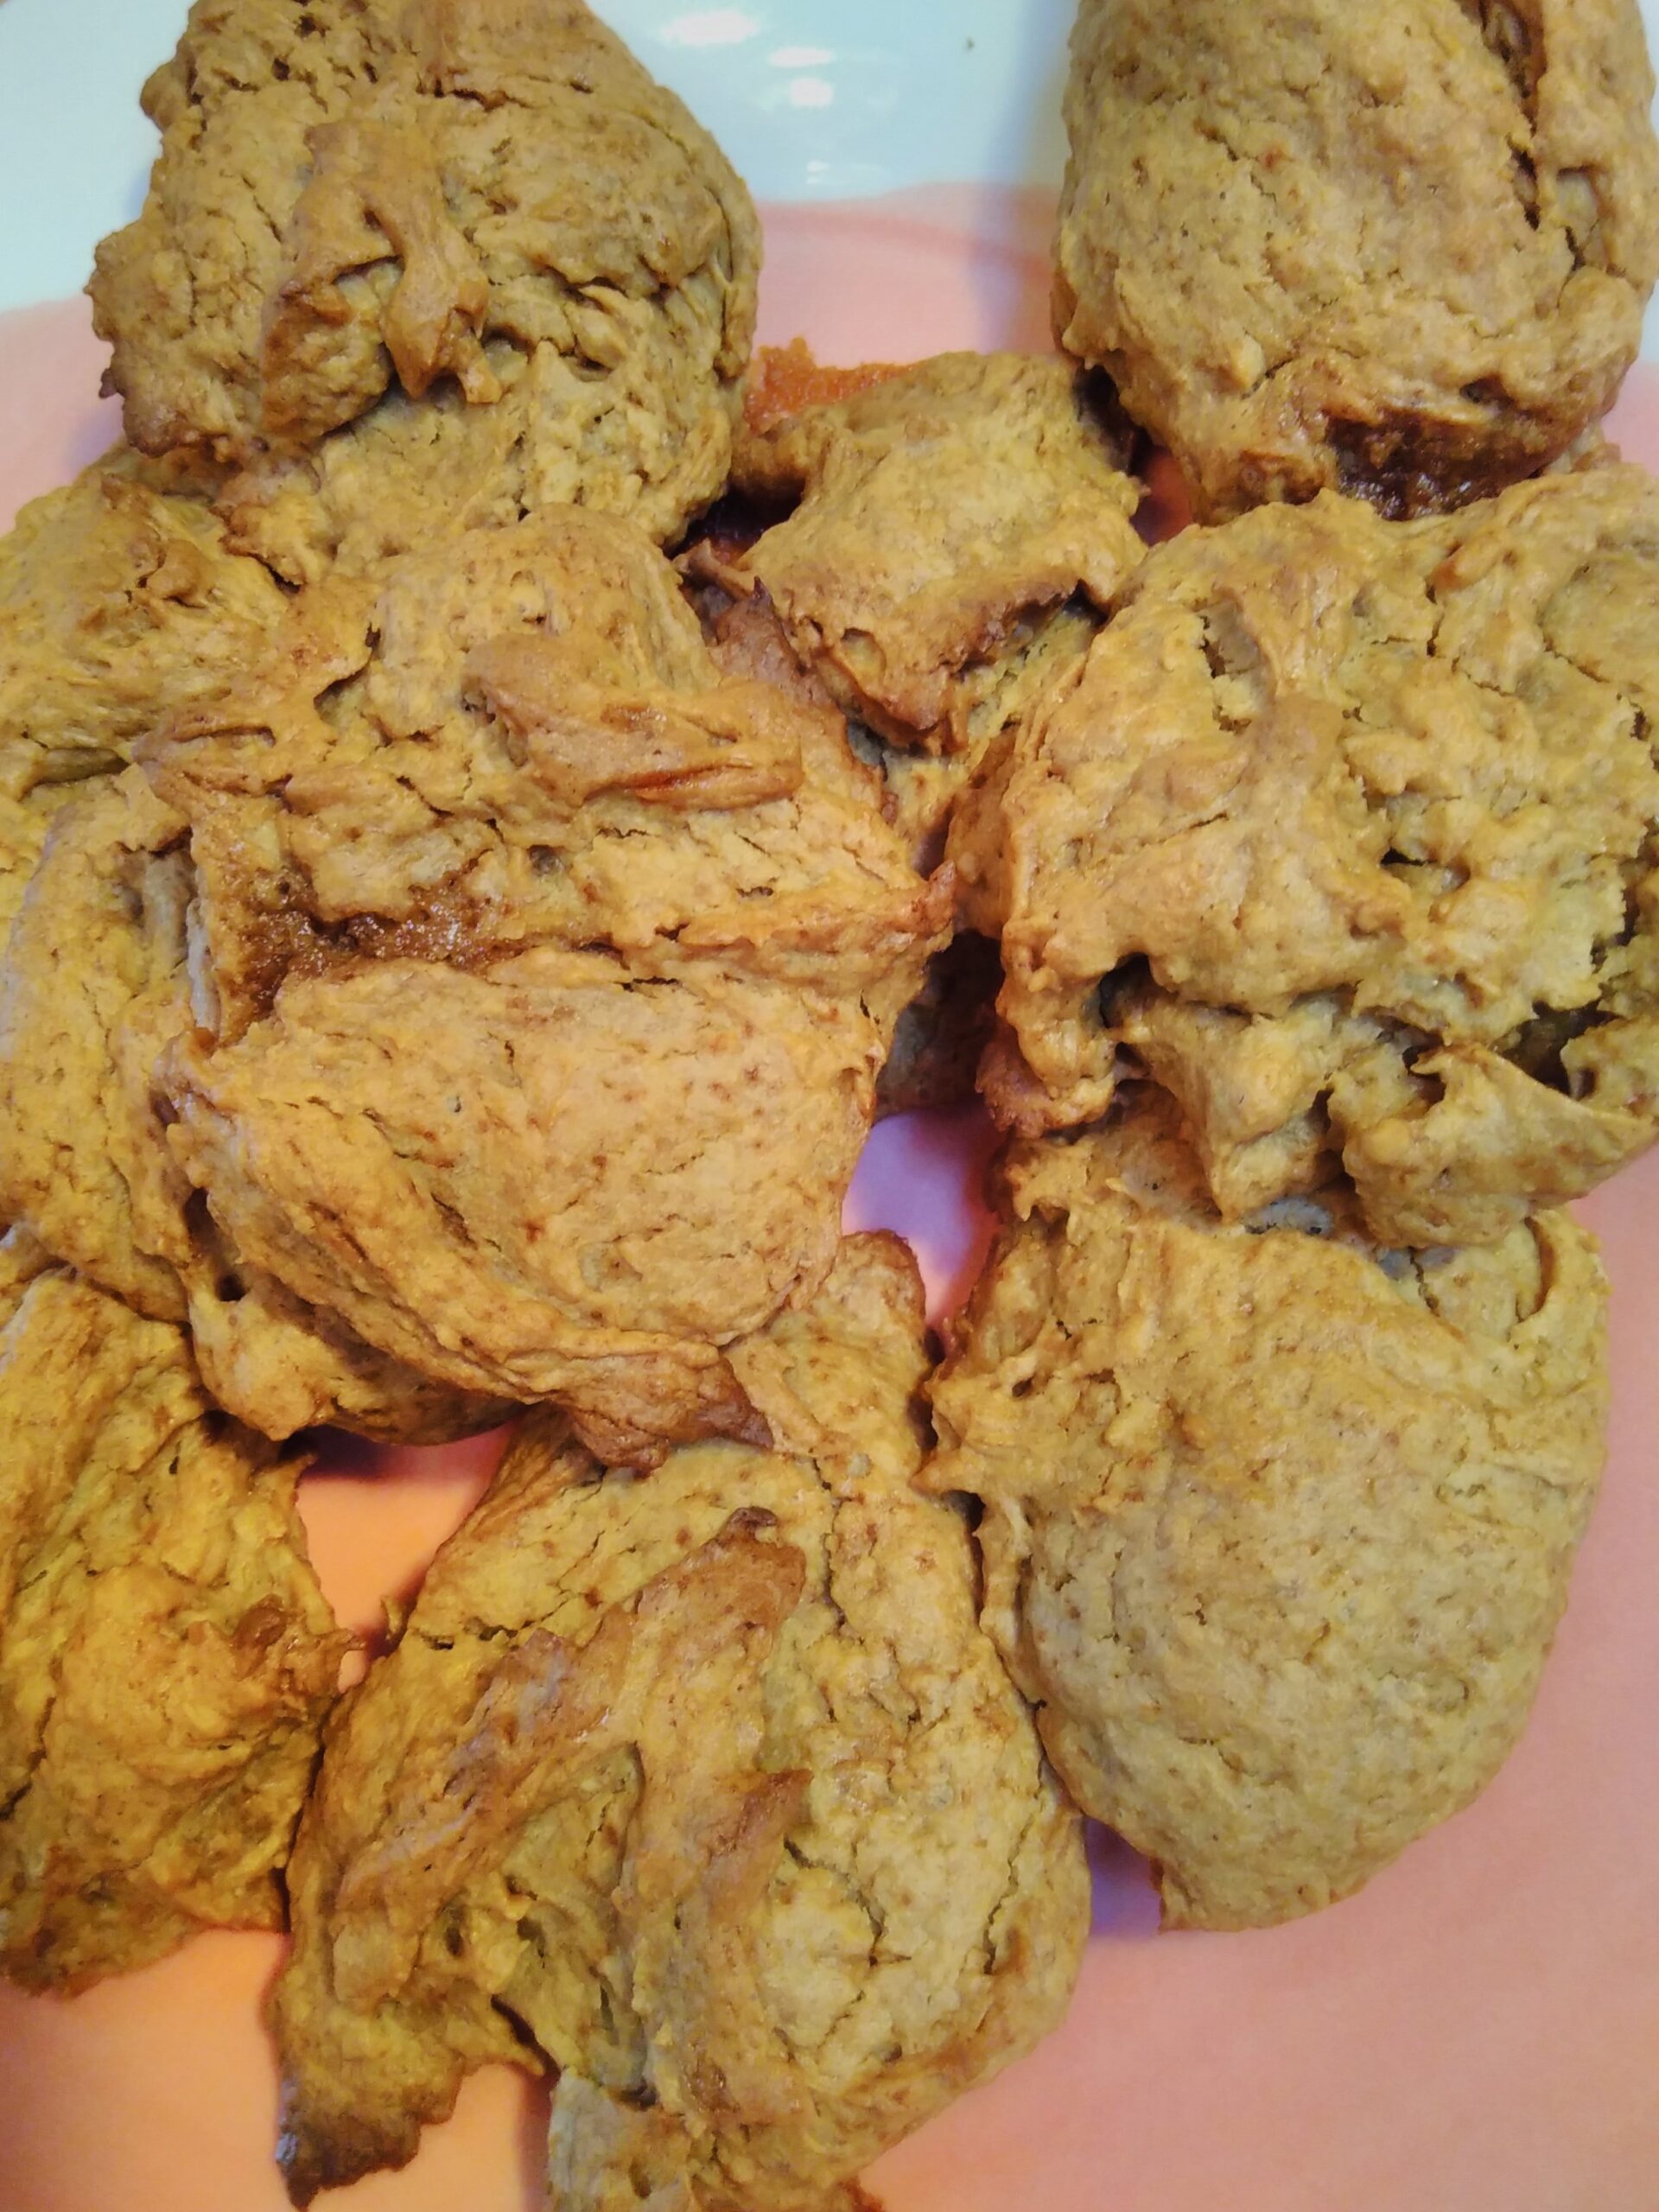
Today, I have finally made these. They took just as much time as I feared. My mum had a special tool for pulping things, but I don’t, so it took 40+ minutes to shove the flesh of a less-ripe-than-ideal persimmon through my wire strainer, by mushing it with a rubber scraper.

Biscuits / Cookies

While making them, I measured all the ingredients with my American cup measure and then weighed them with a kitchen scale. Some of them differ significantly from the calculated version. In this case of the sugar, this may be explained because the Hackney City Farm is only selling an unusual type of raw sugar (date sugar?) that seems more like brown sugar.

I’ve also made steps to veganise it.

The new, metric measurements are:

  • 150 g sugar
  • 90g margarine
  • 2 tsp chickpea flour
  • 300g persimmon pulp
  • 1 tsp bicarb
  • 225g plain flour
  • 1 tsp (5 mL) salt (I still use less than Angie did)
  • 1/2 tsp cinnamon
  • 1/2 tsp cloves
  • 1/8 tsp nutmeg

Cream the sugar and the margarine. Add all dry ingredients except for the bicarb. Strain the pulp. Mix everything together. Make sure it’s properly mixed. The margarine-sugar will tend to stay in clumps, which can make the biscuits stodgy.

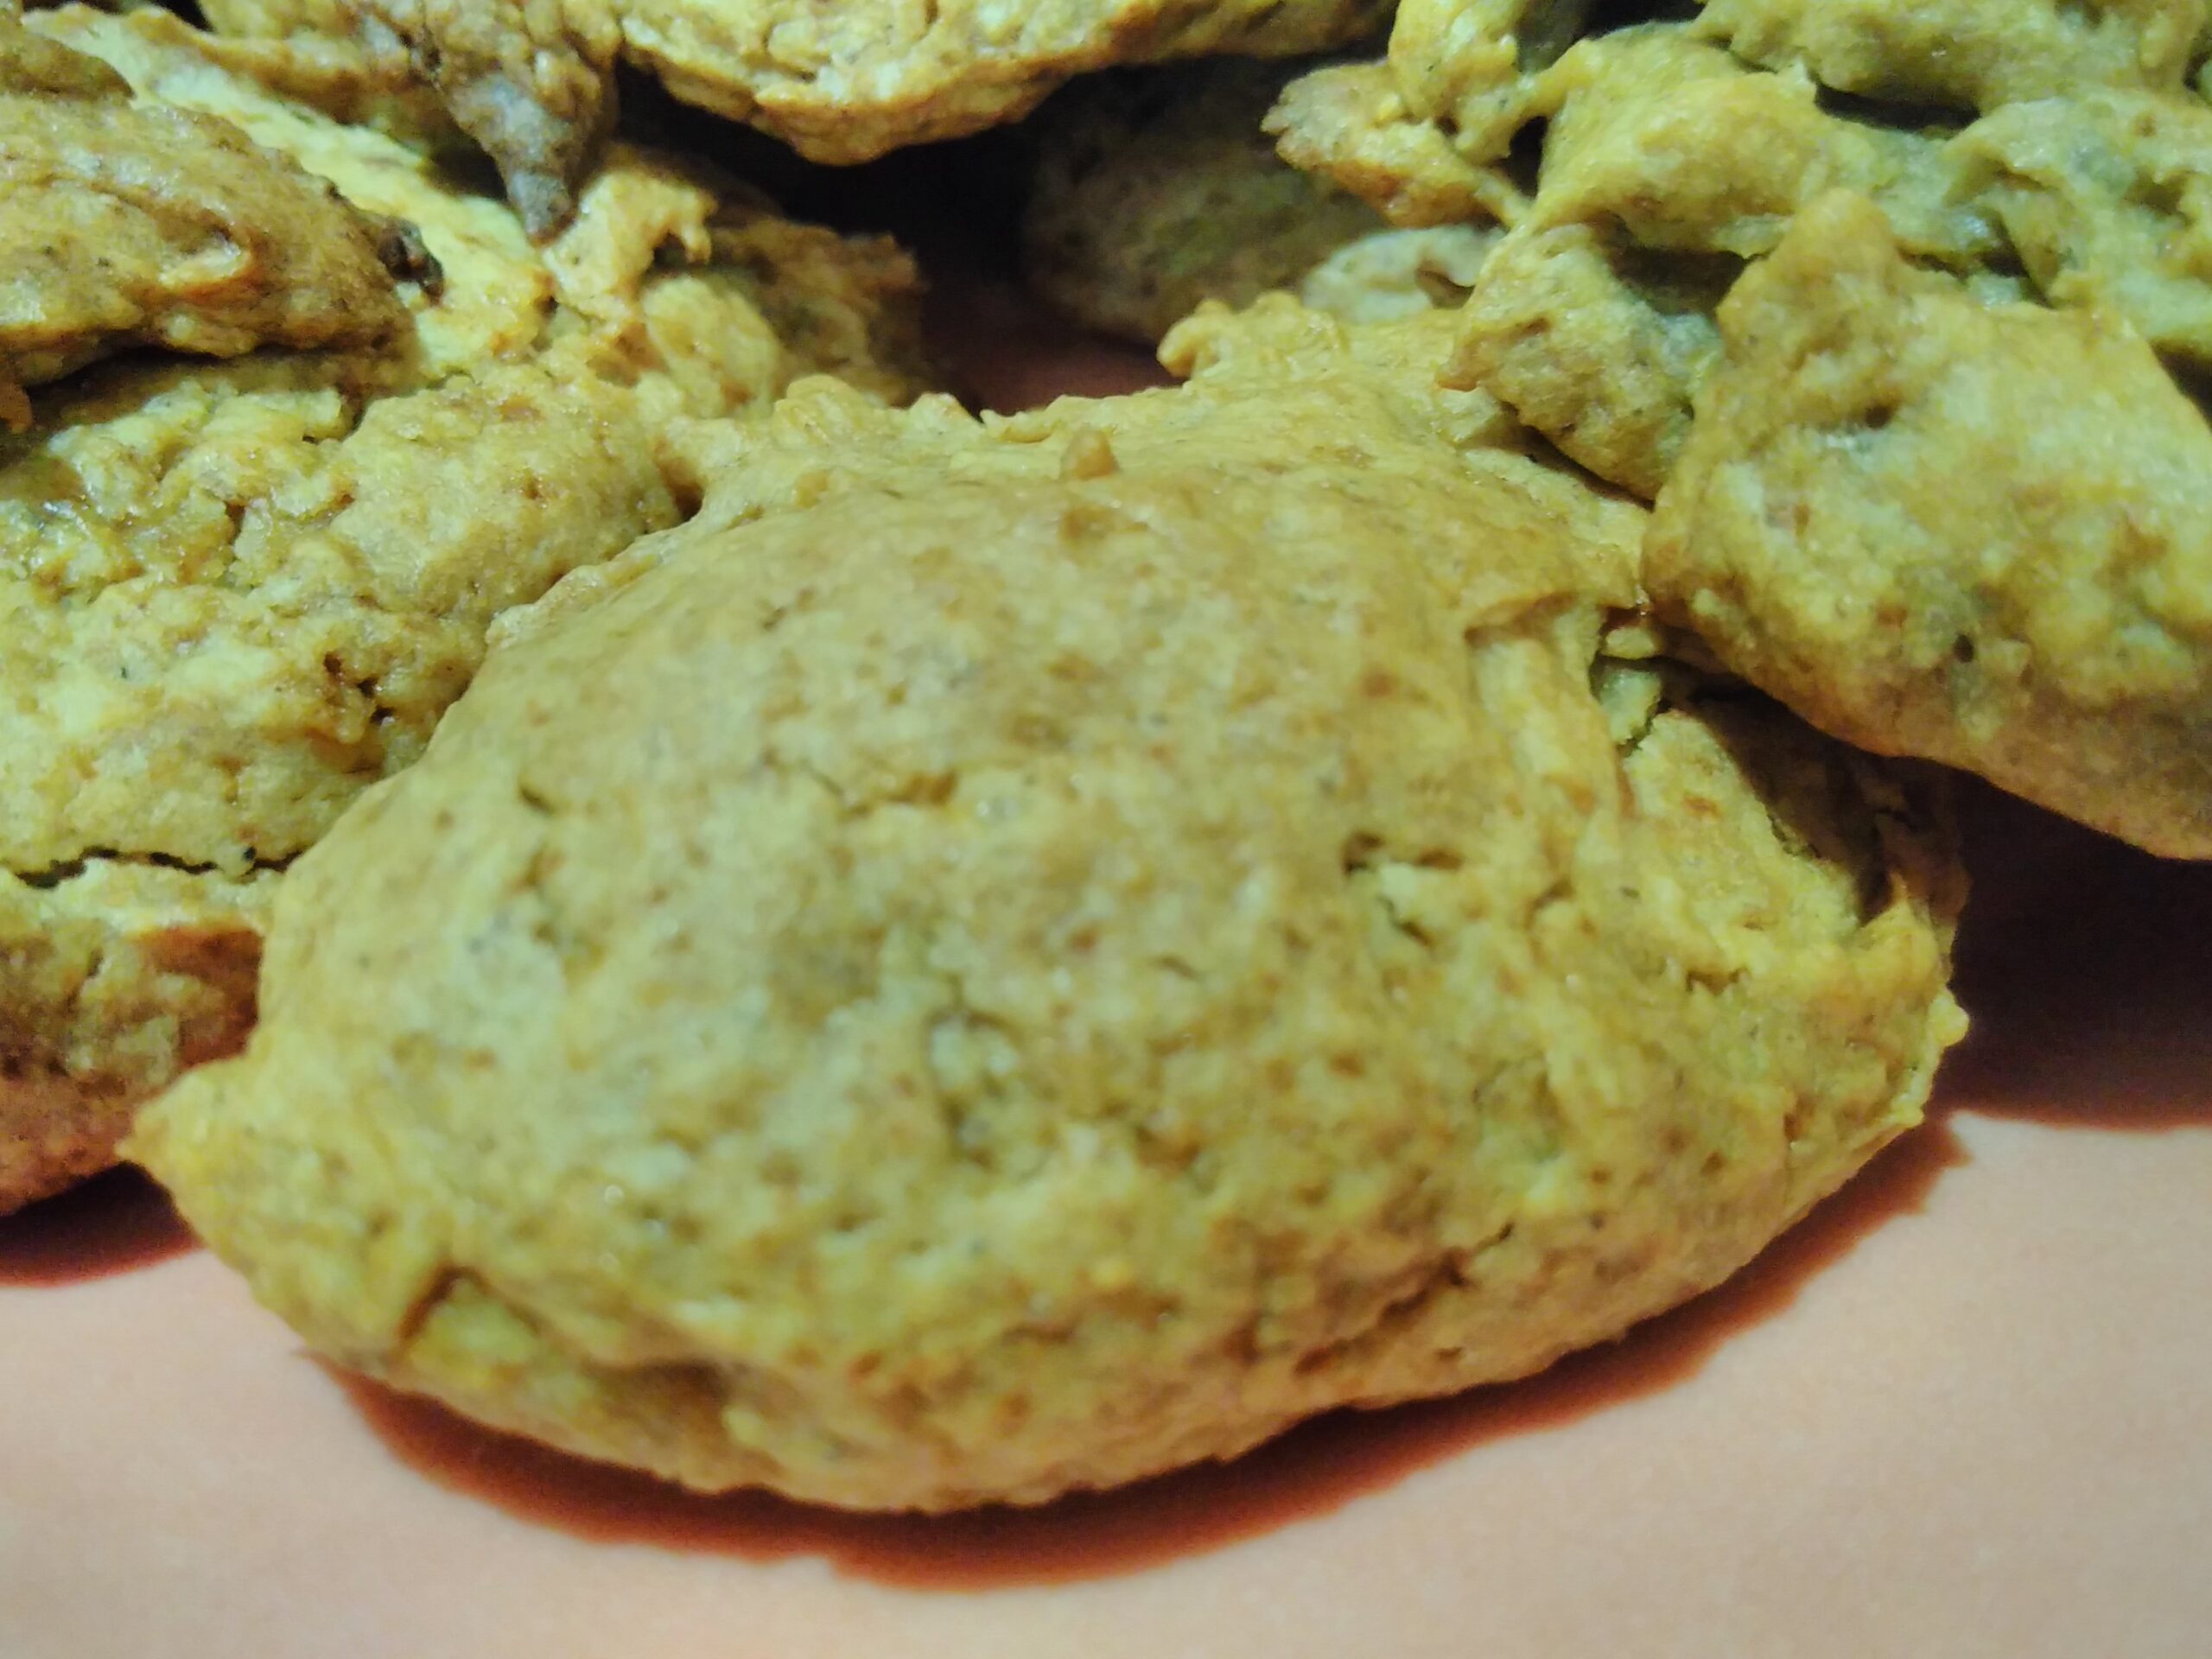
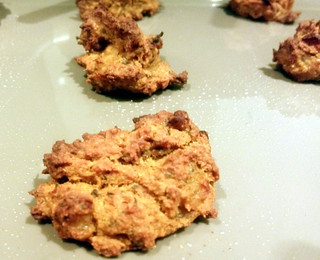
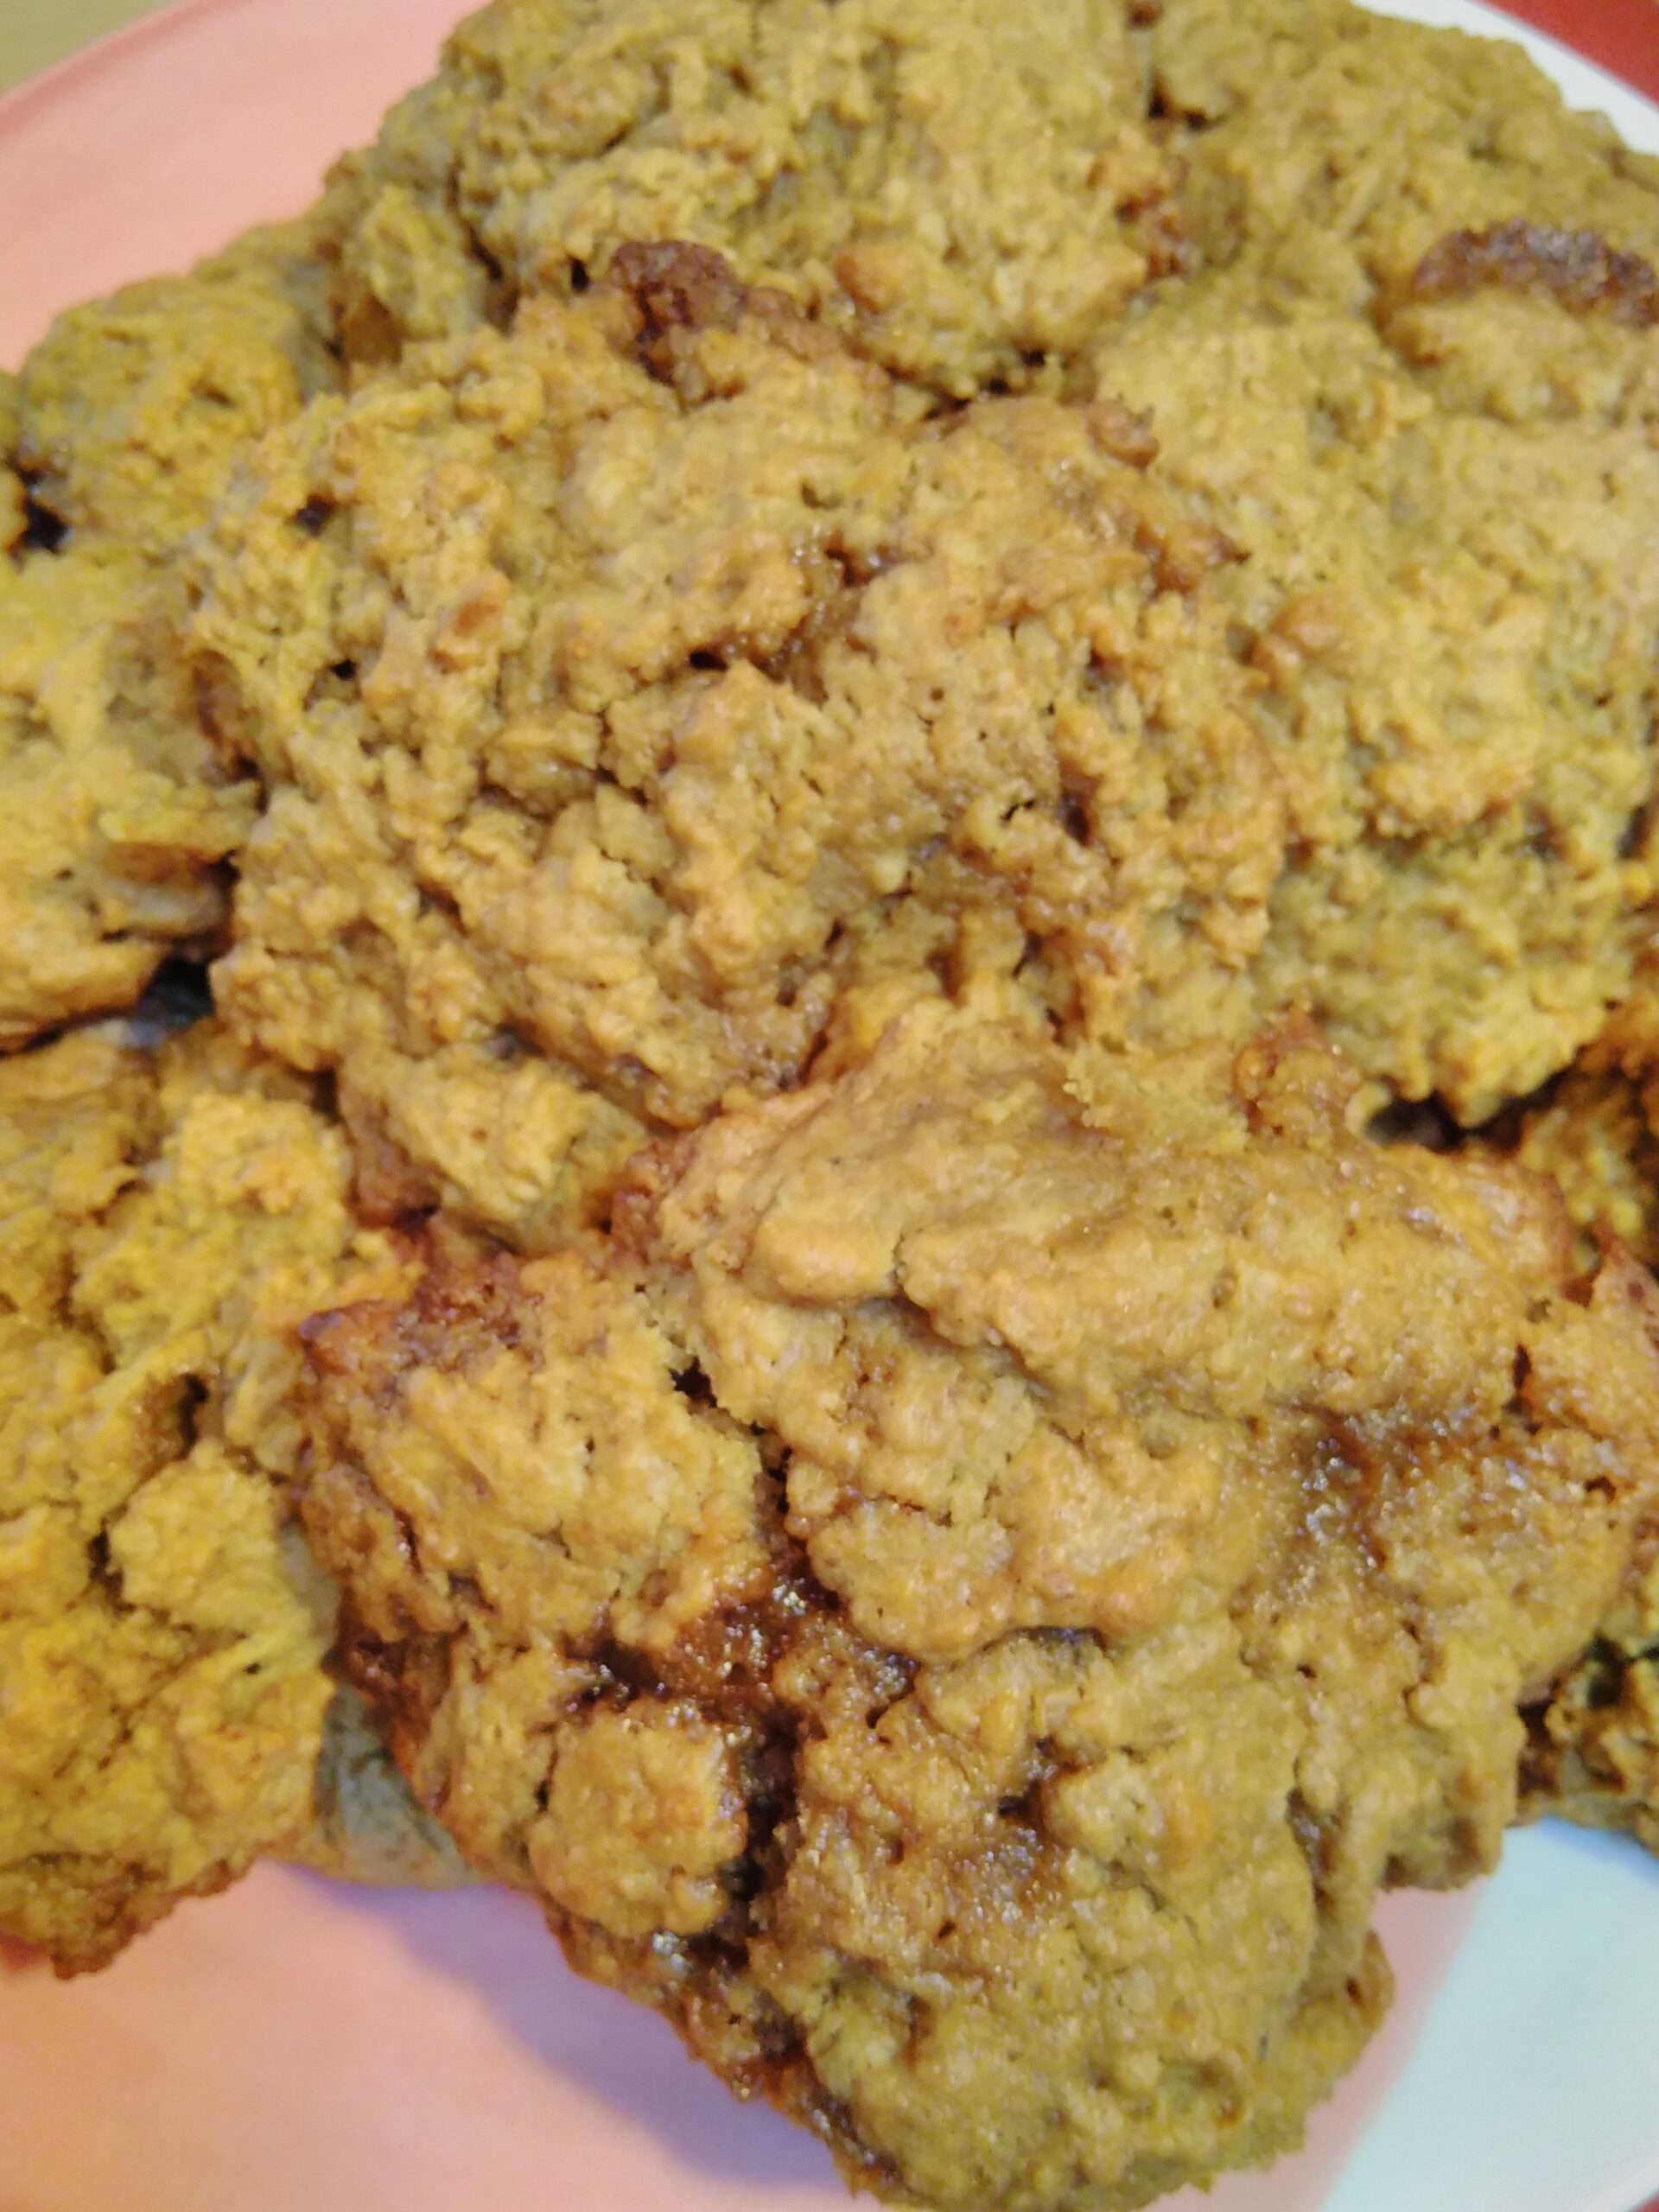
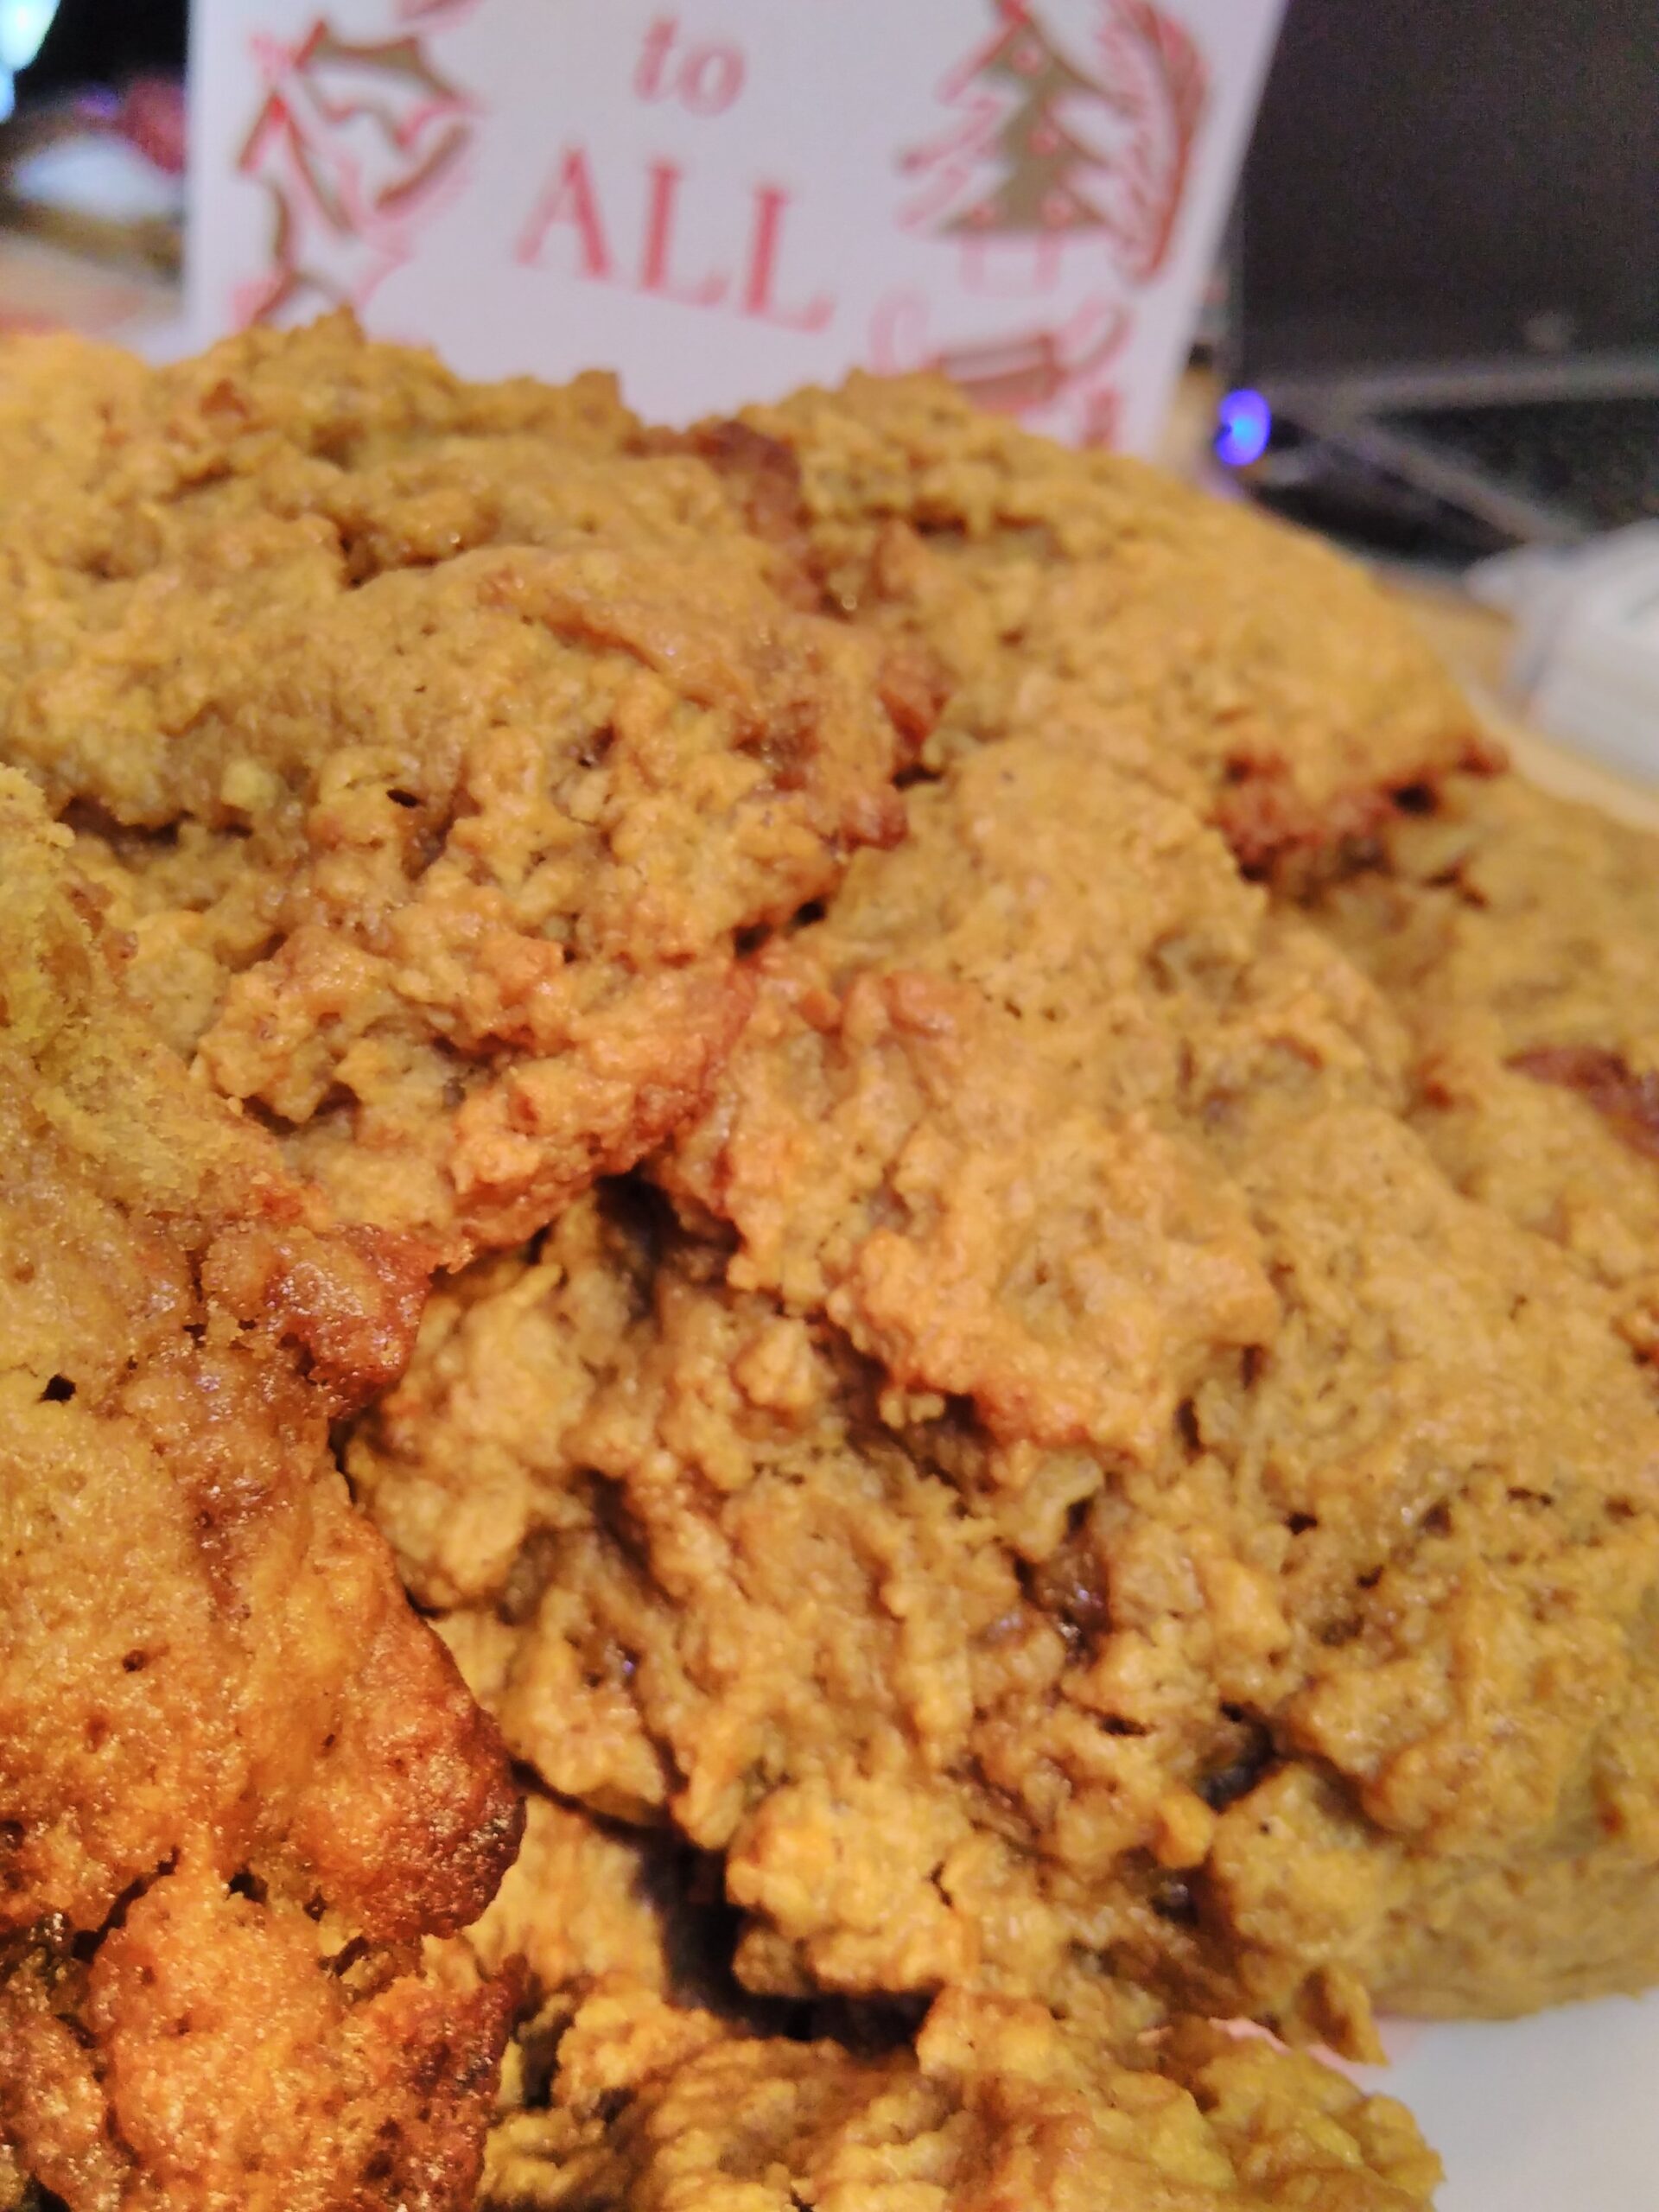
Spoon the batter on to a biscuit sheet with a soup spoon and bake at 190 C (375 F, gas mark 5) for 10-15 minutes. They will raise as you bake them.

I’ve left off the nuts because somebody on my list is allergic. I used chickpea flour to replace the egg, but any emulsifier will work. I didn’t add liquid because the pulp is already pretty wet, but you could add a few teaspoons of water or soy milk or the like.

Previously, I said that Chris and Angie were an elderly couple over the road. They were Sicilian. Chris was in his late 90s and had worked on the construction of the Golden Gate Bridge before spending the rest of his working life as a gardener for the city of San Francisco. Like many Sicilians, they had summer houses in the hottest part of Cupertino. That community would typically build two buildings – one would be the house and the other would be the kitchen and a semi- outdoor eating area. My neighbours retired to that summer house and it was (one of?) the last of those still standing with that configuration.

Chris taught us a lot about gardening and looking after plants and trees. Even in his late 90s and nearly blind, he would come talk to my mum about looking after the roses and would sometimes just prune them because he loved them. (He also had ulterior motives with regards to my mum, so he wasn’t totally blind.) Angie made amazing cookies and was very generous in sharing her food and her recipes. Neither of them could drive, so my mum would take her around to the shops. Sometimes several shops, as she’d snip coupons from the papers.

biscuits
A plate of cookies

Chris was sprightly for a 97 year old man, but had several health problems. Angie used to buy him exotic multivitamins that came in gigantic pills which resembled submarines. When my mum confessed Chris’s proposition to my dad, she was worried he’d be angry, but instead my dad started taking the same vitamins!

A biscuit
A biscuit

Soy Balls

I got myself a soy milk maker recently, which is pretty good. I soak soy beans overnight, put them and water into the machine and half an hour later I get a litre of soy milk out! I also get a sort of soy bean slurry, which is called ‘Okara’. This the ground, cooked soy beans leftover from making soy milk.

Okara is a bit watery, but absolutely edible. I’ve been experimenting with making bean burgers with it. This is a recipe I’ve developed, and which a few people have asked me for. If you have the bad luck not to own a soy milk maker, I think what you could do would be to soak 80 g of whole soy beans over night, then cook them for half an hour, drain them and blend or grind them. You might need to add a sprinkle of water to this recipe to get it to hold together.

Soy Balls

Soy Balls

  • Oakara from 1 litre soy milk
  • Optional pinch dried porcini mushrooms
  • 1 chopped onion
  • 1 clove chopped garlic
  • oil to sautee
  • ½ tsp chilli powder (or more to taste)
  • 1 tsp bullion powder
  • 2 tsp mixed spice (such as herbs de Provence)
  • ½ tsp yeast extract (such as marmite) (or more to taste)
  • 1 tsp paprica
  • 1 Tbsp olive oil
  • 3 Tbsp yeast flakes
  • 2 tsp corn starch
  • Optional dash hot sauce
  • Optional flour to thicken (in the 1-3 Tbsp range)

If you want to use porcini, grind the mushrooms down to small flakes and mix with the still-hot okara. Let stand for 10 minutes, then mix again. If the oakara has already cooled, then skip the mushrooms.

Sautee the onion and garlic in oil. Add the chilli powder and half the mixed herbes when the onions start getting translucent. When they become completely translucent, mix them and the remaining ingredients in with the soy bean mixture. The batter should be like a loose cookie dough. If it is very wet and soft, add a bit of flour to thicken it up.

There are two ways to cook the soy balls – the easiest is do drop teaspoon sized dollops on to baking trays and bake at 180 C (350 F) for 30-40 minutes until they firm up and brown slightly. They will come out looking like cookies!

It is also possible to first fry the balls in some oil to brown the outside and then bake them to make sure the middle is cooked through. This option is superior, but more work. They will absorb a lot of oil while cooking, if fried first. If done this way, they will look more like savoury balls and have a nicer outside texture. I’ve gotten favourable reviews from booth cooking methods.

Variations

These can be made much ore spicy and adding all kinds of herbs or spices might be interesting. I’ve had good success with mustard seeds, nigella seeds, dried chilli flakes, oregano, etc. You can also add a few Tbsp of corn kernels and some extra spice for a chilli burger flavour. Okara has a mild flavour, so you have a lot of latitude to try out different spices.

Faux- French Food: Quorn Bourguignon

Ingredients

  • olive oil
  • small knob of butter
  • 1 medium onion
  • 3 cloves garlic
  • 2 medium-large carrots
  • flour
  • 3 portabella mushrooms
  • 3 shallots
  • 1 bag of qourn fake chicken pieces
  • 1 bay leaf
  • 1 tsp herbes de provence (if they don’t include lavender, add some)
  • 2 tsp thyme
  • 2 tsp bullion powder
  • 1 tsp marmite (or less – to taste)
  • 0.5 bottle french red wine – if you’re outside of france, get the cheapest you can. If you’re inside france, get something you might consider drinking
  • ground pepper

Equipment

  • knife
  • cutting board
  • pan
  • measuring spoon
  • stirring spoon

Instructions

Chop up the onion and cook it over low heat with butter and some olive oil. After the onion goes translucent, add chopped garlic. After the garlic has cooked a bit, add the chopped carrots. After they seems to be somewhat cooked, add a light flour coating and the chopped shallots. After the shallots are a bit cooked, add the chopped mushrooms, hebred de provence and thyme. When the shallots are looking a bit cooked, add the mushrooms. Then, when they seem to have soaked up the oil, add an extra Tbsp of olive oil and wine so it’s an inch or two deep in the pan. Add in the bay leaf, bullion and marmite. Simmer over low heat, topping up with wine when it gets low. When the carrots are soft, add the quorn and cook for 20-25 more minutes.
Keep adding wine, such that there should be a bit of liquid left around at the end of cooking. You should be stirring intermittently throughout. All cooking should be done without a lid on the pan.
This is all based loosely on Delia’s recipe.

Best Nutloaf

  • 1 Onion
  • 1 tsp vegetable oil
  • 2-3 slices / 100g stale bread OR 100g matzoh
  • 225 g nuts
  • 300 ml vegetable stock
  • 2 tsp marmite
  • 1 tsp herbs de Provence (or mixed herbs)
  1. Preheat oven to 180 C / 350 F / Gas mark 4
  2. Peel and dice the onion. Cook it in a pan on the stove with the oil
  3. Toast bread until slightly crispy. Process or mill it (or the matzoh, if you’re using that). Grind the nuts
  4. Heat the stock with the marmite. Bring to a boil and then remove from heat.
  5. Mix everything in a mixing bowl and transfer to a greased deep baking tray. Bake for 30 minutes or until dry on top, but not burnt. (You can cover it with foil for the first 20 minutes if you are prone to burning things.)

From Another Dinner is Possible, which is the best vegan cookbook I know of. You should get a copy.
Americans: 300 ml = 1.25 Cups. Apparently, according to this, if you use almonds, you’ll want 1.125 Cups. However, I think you might just need to get a scale for this one, which is a good investment anyway. They’re very useful for beer brewing.

Vegan Apple Cake

  • 225g (1¾ US Cups) self-raising flour (or 220g (still 1¾ US Cups) plain white flour + 1 tsp baking powder)
  • ¼ tsp bicarbonate of soda
  • 1 tsp baking powder
  • A pinch of sea salt
  • Optional: A pinch of ground cardamom seeds, a grating of fresh ginger (or use ½ tsp ground), ½ tsp cinnamon, ½ tsp nutmeg
  • 450g (1 lbs) cooking or dessert apples
  • A little lemon juice
  • 100g (½ US Cup) sugar
  • 125 mL (½ US Cup) olive oil
  • 1 mooshed bananna
  • 50g (¼ US Cup) soft brown or demerara sugar (or caster sugar is fine)

The spices are optional and you can use more or less to your taste. Once you’ve gathered your ingredients:

  1. Sift flour, bicarb of soda, salt and spices (if using) into a mixing bowl. Mix thoroughly.
  2. Peel the apples. Cut into very small, think pieces. Toss the cut apples in a little lemon juice as you go, to keep them from browning.

  3. Mix in apples, sugar, oil and banana into the flour mix. Gently fold through until everything is thoroughly mixed. Turn into a greased cake tin.

  4. Level off the top of the batter. Sprinkle with sugar.

  5. Bake in a preheated moderately hot oven (200°C/Gas 6/375°F) for 30-40 mins. Test with skewer.

  6. Remove from oven. Allow to shrink slightly before turning out onto serving plate.

Variations

If you want a slightly heavier, richer cake, you can substitute 100g (½ US Cup) margarine + 1-2 Tbsp soy milk for the olive oil. Add margarine just after sifting the flour and spices together, cut it into the flour mixture and and rub into breadcrumb consistency. Then add the soy milk just after adding the apples, sugar etc. Add enough to wet the batter and hold it together.

Delightful Banana Muffins

  • 1 ⅓ US Cup (190 grams) self-raising flour
  • ½ US Cup (140 grams) sugar
  • ¼ tsp salt
  • ¾ US Cup (135 grams) porridge oats
  • 2 mooshed bananas
  • ⅓ US Cup (80 mL) olive oil
  • 1 tsp vanilla extract
  • ⅔ US Cup (160 mL) soy milk

Preheat oven to 190 °C / Gasmark 5 / 375 °F. In a large bowl, mix all the dry ingredients (add 1 tsp baking powder and 1 tsp sodium bicarbonate (baking soda), if you’re not using self-raising flour). Add all the wet ingredients and mix just until there’s no pockets of flour lurking. Don’t over mix! Spoon into a lightly oiled muffin tin (also known as a cupcake tin) or silicon muffin cups (or cupcake cups) and bake for 15-20 minutes until golden brown. Makes a dozen.

Vegan Pumpkin Pie

Ingredients

  • 1 medium sized orange squash – pumpkins are good, butternuts are better, crown prince squash is best. Pottimarons also work, etc.
  • 1.5 C + 2 Tbs Soya milk
  • 4 Tbs arrow root powder (or cornstarch)
  • 0.5 Cups (300 g) sugar
  • 1 tsp cinnamon
  • 0.5 tsp powdered ginger
  • 0.5 tsp allspice
  • 1 pie crust

Hardware

  • Bowl
  • Measuring cup
  • Measuring spoons
  • Oven
  • Spoon
  • Knife
  • Optional: blender or hand blender

Instructions

In advance

Heat the oven to 350 F/180 C / gas mark 4. Put the squash in the oven and bake until the skin discolours and the squash is squishy. This may take 30 minutes – an hour. Then, let the squash cool down.

After the squash has cooled

Heat the oven to 50 F/180 C / gas mark 4.
Mix the arrowroot (or cornstarch with a bit of the soymilk until smooth. Then, add in the rest of the soya milk and mix well.
Cut the pumpkin in half, remove the seeds (they’re edible too!) and then scoop out the flesh. Measure out 2 cups of the squash. Put the rest aside for soup or something else. Add the 2 cups of squash to the soymilk mixture.
Add the sugar and spices. If you have a blender, use it to blend the mixture until smooth. If you don’t, then make sure the pumpkin is squished into as small pieces as possible and try tog et out as many lumps as you can.
Pour the filling into the pie crust and put it in the oven. It should bake 30-40 minuts, or until the centre is firm. If you are baking other things at the same time, it will take longer.
Let the pie cool before serving. I like it best near room temperature. Some people like whipped cream on it also.

Commentary

I usually get somebody else to make the crust for me, so I don’t feel qualified to offer a recipe for one, but hopefully, this will change by Monday.
If you use a sweeter squash, like a crown prince, you can cut back a bit on sugar. Taste the batter if you’re unsure.

Angie’s Persimmon Cookies

Here in California, persimmons (known to Brits as sharon fruit) are getting to be ripe. When I was a child, the elderly Italian couple across the street had a huge persimmon tree and every year Angie, half of the couple, would make amazing cookies from them. This was her recipie:
Preheat your oven to 375 F (190 C, gas mark 5)

  • 1 Cup (240 mL, 200 g) sugar
  • 1/2 Cup (120 mL, 120 g) shortening or butter
  • 1 beaten egg
  • 1 tsp (5 mL) baking soda
  • 1 Cup (240 mL) persimmon pulp
  • 2 Cups (480 mL, 240 g) flour
  • 1 tsp (5 mL) salt (I use less than Angie did)
  • 1/2 tsp cinnamon
  • 1/2 tsp cloves
  • 1/8 tsp nutmeg
  • 1 Cup (240 mL) nuts

cream 1/2 of sugar with shortening. Mix remaining with egg. Combine. Dissolve soda in pulp and put fruit through strainer and beat into sugar mixture. Mix dry ingredients and blend in. Finally, mix in the nuts.

Soon it on to a baking sheet with a big spoon. They rise a lot when you cook them, like tiny cakes.

Bake 10 -15 minutes.
These cookies are super fantastic. After Angie passed, my mom would make these every year. I got the recipe from her when I was at university. These cookies will make you feel happy.

Cooking and Eating for Postgrads: Oatmeal (aka Porridge)

Breakfast: the most expensive important meal of the day. Oatmeal is an economical and hearty way to eat in the morning.

Oatmeal

Hardware

  • small pan
  • measuring cup
  • spoon
  • knife (optional)

Food Items

  • Oats
  • Raisins (optional)
  • Apple or Pear (optional)
  • Banana (optional)
  • Cinnamon (optional)
  • Soy Milk (optional)

Preparation

Put 0.1 L of oats in a pan with 0.3 L of water. Put it on low heat. Add in a small handful of raisins. Stir some. Cut up an apple or pear into small pieces and add them. Stir some. Cut a banana into slices and add them. Stir some. Sprinkle some cinnamon on top. Stir occasionally. When it looks done, it is. Serve with soy milk

You’ve just gotten

The oats are a warm and filling way to start the cold day! And full of fibre. The three fruits have given you three of your five a day (and it’s not even lunch time yet!). The banana has potassium. The soy milk has protein. And if you’ve been wise in your soy purchase, it also has calcium and b12.

Fortified

Breakfast cereals are expensive because they’re fortified. Because most people have a crap diet and don’t take any vitamins, all of the stuff they’re presumed to be missing is added to cereal. This means that you’re not only paying for the food in it, the colorful packaging, the catchy marketing campaign, the secret toy inside and the artificial flavors, you’re also paying for it to be your daily multi. That’s not necessarily a bad thing, but the price per gram of cold breakfast cereal is not good.
However, there are some vitamins that are difficult or impossible to get from plant sources only. Including B12, which is necessary for survival. It’s found in spirulina and marmite, but if you’re vegetarian or vegan, you’re going to need to get more than you can from those sources (it’s in milk, but not in eggs). This means you can either take supplements or drink fortified soy milk. Check the label of the soy milk before you buy it. Mine gives me my daily allowance of B12 in about the same amount I use on coffee and oatmeal. It also is fortified with calcium, which you need and which, despite what you make have heard, is hard to get from milk.
Ok, there’s a lot of stuff going around about how soy is secretly poison or whatever. Firstly, we’re not talking about living off of nothing but soy, we’re talking about one serving of soy milk. Second, I’m not familiar with all the claims against soy, but I do know the ones people say about estrogen: soy will make you girly!!. Oh my god, vegetarians really are effeminate!!
I know, estrogen is so alarming! Can you believe it, your own body even makes it! What a traitor! Ok, small amounts of plant based estrogen aren’t bad for you. It’s in a lot of foods. Unless you go crazy with the soy, this isn’t going to be a problem. Second, you actually need some estrogen in your body in order for your brain to function properly. No estrogen = no brains. Make of that what you will.
Anyway, we’re talking about one serving of soy milk here, so this is not really an issue, but I want to add that I think the hysteria behind soy estrogens has a lot to do with homophobia, sexism, and gender normativity more than it has anything to do with a valid health concern. Soy beans do not make you gay. Sheesh.

Carbon Footprint

I made some claims earlier about only eating local produce. No, they don’t grow bananas in England. I’ve started making an exception for bananas because I really like them and they’re a really good source of potassium, which prevents things like foot cramps. I get the fair trade bananas. I was listening to the Democracy Now podcast a few weeks ago and heard an advocate of banana growers talking about fair trade. Banana growers need to survive , and if I buy fair trade, then that helps them do so.
Hopefully that doesn’t make me a hypocrite to go on to say that many breakfast cereals have a terrible carbon footprint. Ingredients from all over the world come together at one factory very far away from where you live and then are shipped back to you. Dried fruit from Turkey goes to North America, goes back to England. However, the main reason I eat oatmeal is because it’s cheap and warming and makes my mornings brighter.

Cooking and Eating for Postgrads: Winter Soup

You’re poor. You’re stressed for time. You need to be mentally alert and able to produce quality output. You need to be as healthy as possible. You food fuels all of that and actually makes up your physical matter. So to be at the top of your game, you need to eat right. This is the first of series gives you pointers for what to eat and how to cook it.
Because I never measure anything and I’m too lazy to start now, I’m going to give very approximate directions. But you’ve gotten this far in your education, so you’re used to dealing with incomplete cues.

Winter Soup

Hardware

  • Knife
  • Cutting Board
  • Pan
  • Spoon

Food Items

  • Uncooked Rice
  • Dried, split lentils
  • Olive Oil
  • Salt
  • Herbs (Italian, Herbes de Provence, whatever)
  • Onion, or leek or other member of this family
  • Some root vegetable: like half a Swede, a couple of parsnips, half a celery root or some combination thereof.
  • 5 brussels sprouts or some broccoli
  • Vinegar (optional (I prefer apple cider vinegar because it’s tasty and versatile))
  • Garlic clove (optional)
  • Half a dried pepper (optional)

Preparation

Put 0.1 or 0.2 liters (0.5 – .075 cups) each of rice and lentils in the bottom of a pan. Or use more. Fill up the pan with cold water. Add a pinch of salt and a splash of olive oil (around a tablespoon (2 mL)). Put the pan on the stove on the lowest possible heat setting. Go away and do some work. You can do this for just 20 minutes, or much, much longer. It doesn’t matter. When you think of it, come back to the kitchen.
Add a couple of teaspoons of your herbs. If you’re going to add some dried pepper, cut it in half and shake the seeds out and throw away the seed. Drop it in. Cut up an onion or leek into small pieces that you would want to get in a bowl of soup. Add them to the pot. If you’re adding garlic, do that now too.
Wash and peel your root vegetables. Cut them into little pieces and throw them in.
Wash your sprouts and and cut them into quarters. throw them into the pot.
If you want to add a splash of vinegar, do it.
When the brussel sprouts sort of start to look like they’re blooming: the leaves are starting to separate a bit, your soup is probably done. Test a swede (or whatever root) to be certain. Also, add salt if you need it.
Hopefully, you’ve made more than you need to eat in a single night. After you eat as much as you want, stick the rest in the fridge and reheat it tomorrow. You can add more brussels sprouts the next day to keep the vegetable count high.

You’ve just gotten

You’ve got fibre and protein from the beans and rice. Omega 3 and 6 from the olive oil. A large portion of your 5-a-day from the veggies. The brussels sprouts, in particular, have a bunch of vitamins and prevent some cancers. I’m too lazy to calculate the cost for this meal, but it’s really economical: you get what you need for a good price. All of the vegetables are in season right now.

Basic Staples

What are non-perishable items that you’ll be using a lot of? Olive oil, salt (sea salt if you can afford it), herbs as used above, curry powder, dried rice, dried lentils.
You can almost live off nothing but those staples mixed with vegetables. Beans and rice together form a complete protein, which means that it’s just as good as the protein you get from meat or dairy, but much, much cheaper. I’m fond of lentils because they cook very quickly. Other beans also have protein.